
Nothing in setup files anything or moves money. Every step can be repeated, and the guided start keeps track of what is done.
Get your workspace: a demo account or your firm's white-label sign-in
Ask for a demo account at taxorch.com/demo, or use the sign-in your firm gave you under its White-label licence. Your workspace comes set up with team access, client workspaces with review and an audit log.
Firms that want TaxOrch under their own name, logo and web address ask about the White-label licence; it has no published price.
Open the organisation page and name your workspace
From the sidebar choose Organisation. This page groups everything an administrator sets once: identity (single sign-on, SCIM provisioning, roles and permissions, service accounts), security (IP allowlist, alert routing, trust centre, data residency), platform (API usage, webhooks, feature flags) and the workspace itself.
Most of these cards matter once a team and clients are set up; they are covered in chapter 11.
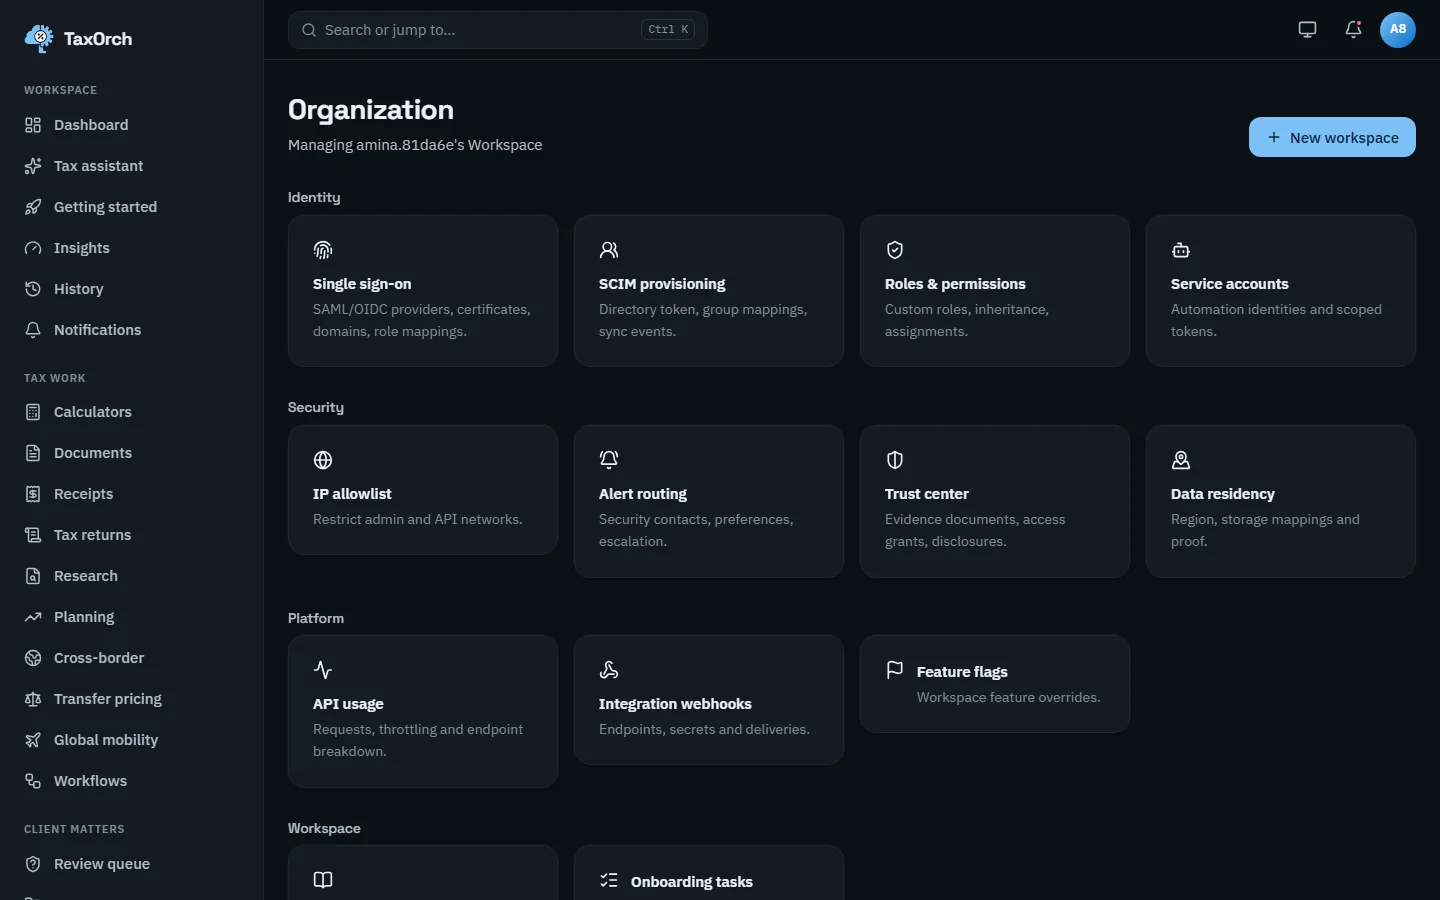
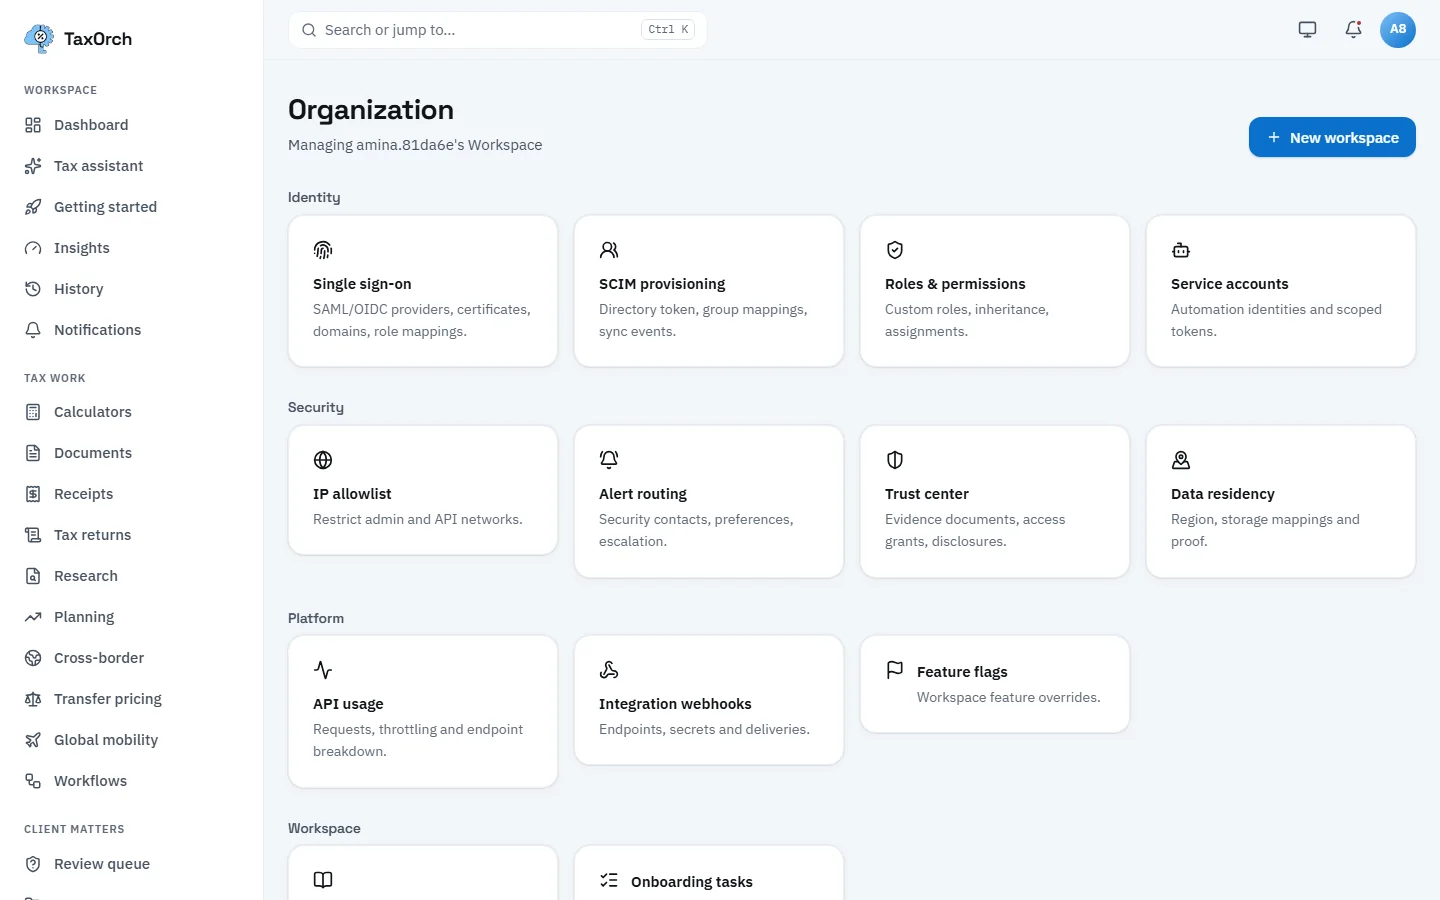
The organisation page: identity, security, platform and workspace settings on one screen.
Set your profile, language and security
Open Settings from your avatar. The Profile tab holds your name and contact details; Preferences holds the language used for emails, notifications and answers where a checked translation exists; Security holds two-step verification and your sessions.
Turning on two-step verification takes one minute and is shown in chapter 11.
Work through the five-step guided start
Choose Getting started in the sidebar. The five steps are: ask your first tax question, upload a receipt or invoice, check a cross-border payment, open a client case, and see what you have saved. Each one opens the real screen; the progress bar fills as you finish them.
On the sample workspace two of five are done: a question has been asked and a receipt has been read. The next step, a cross-border payment, is marked Up next.
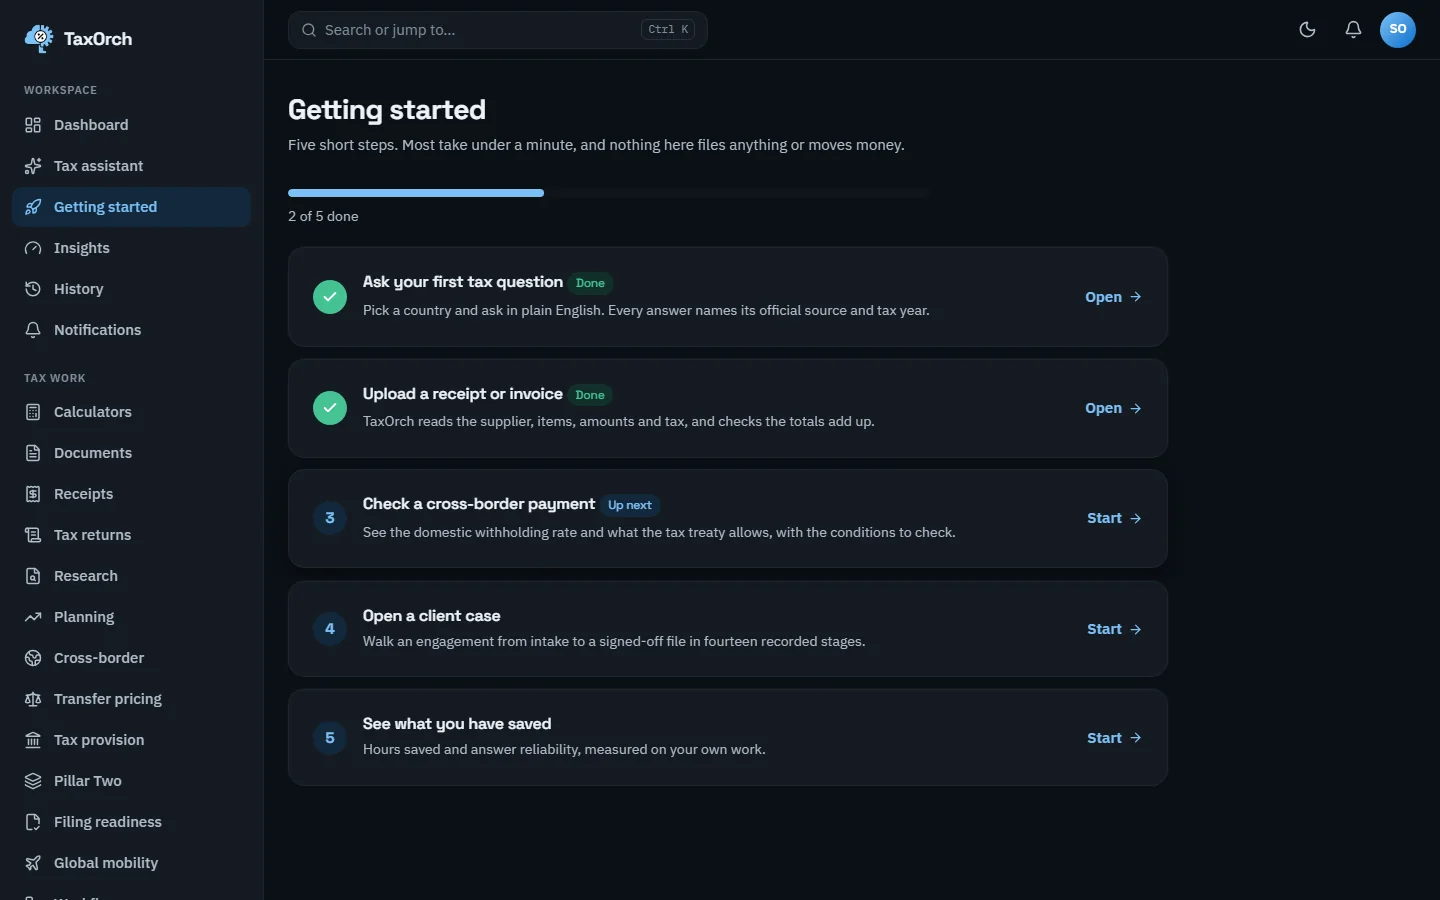
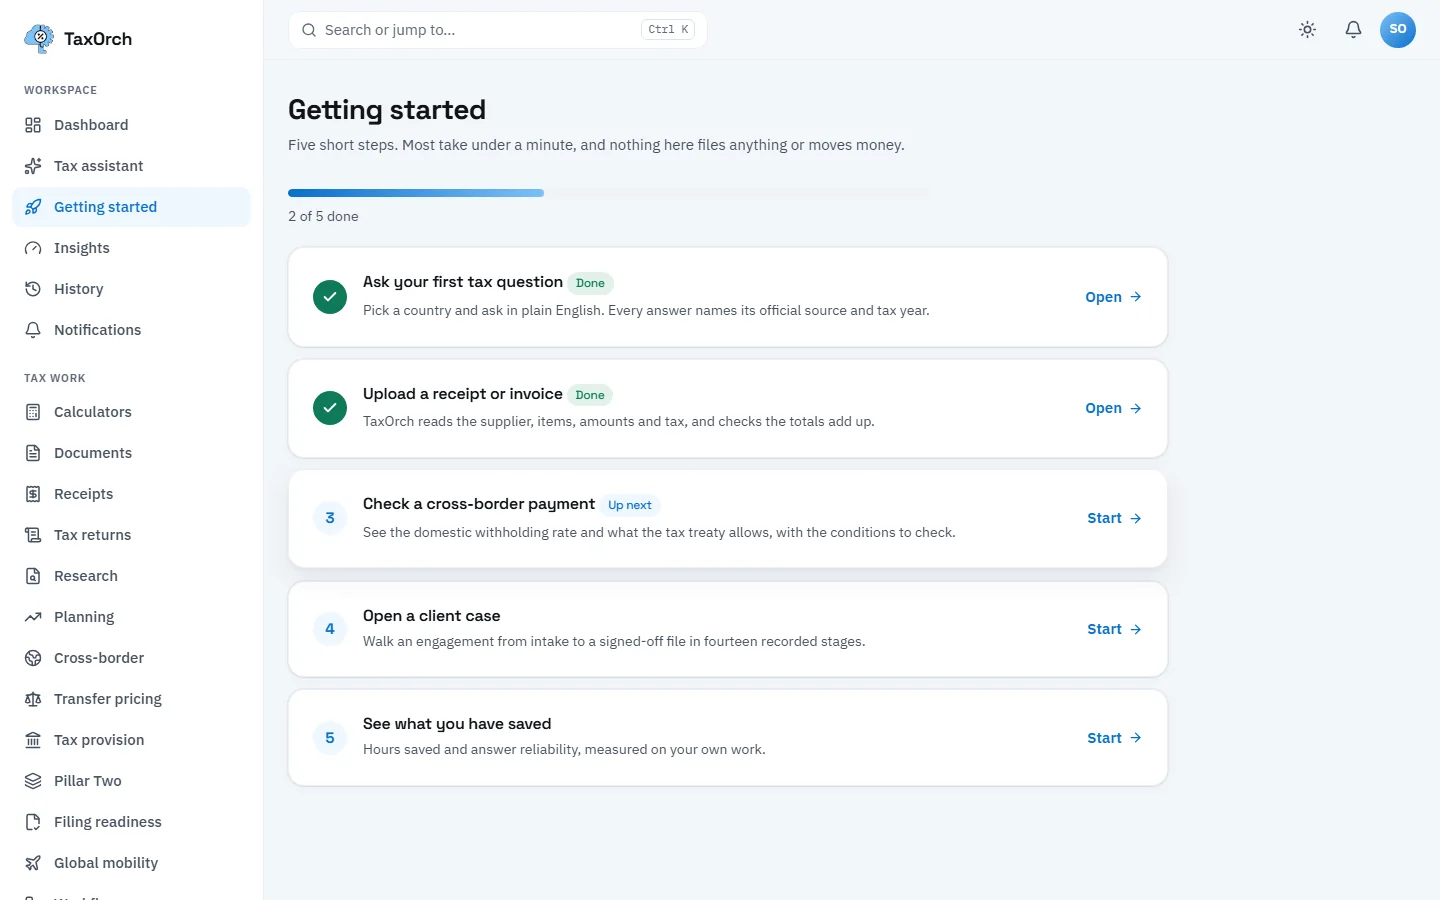
Getting started: five short steps, two done, the cross-border check up next.
Check what you have saved
The Insights page turns the work recorded in your workspace into hours saved, measured processing time and answer reliability by release. Hours saved is an estimate: task counts multiplied by editable manual-effort benchmarks, minus measured machine time, and the screen says so.
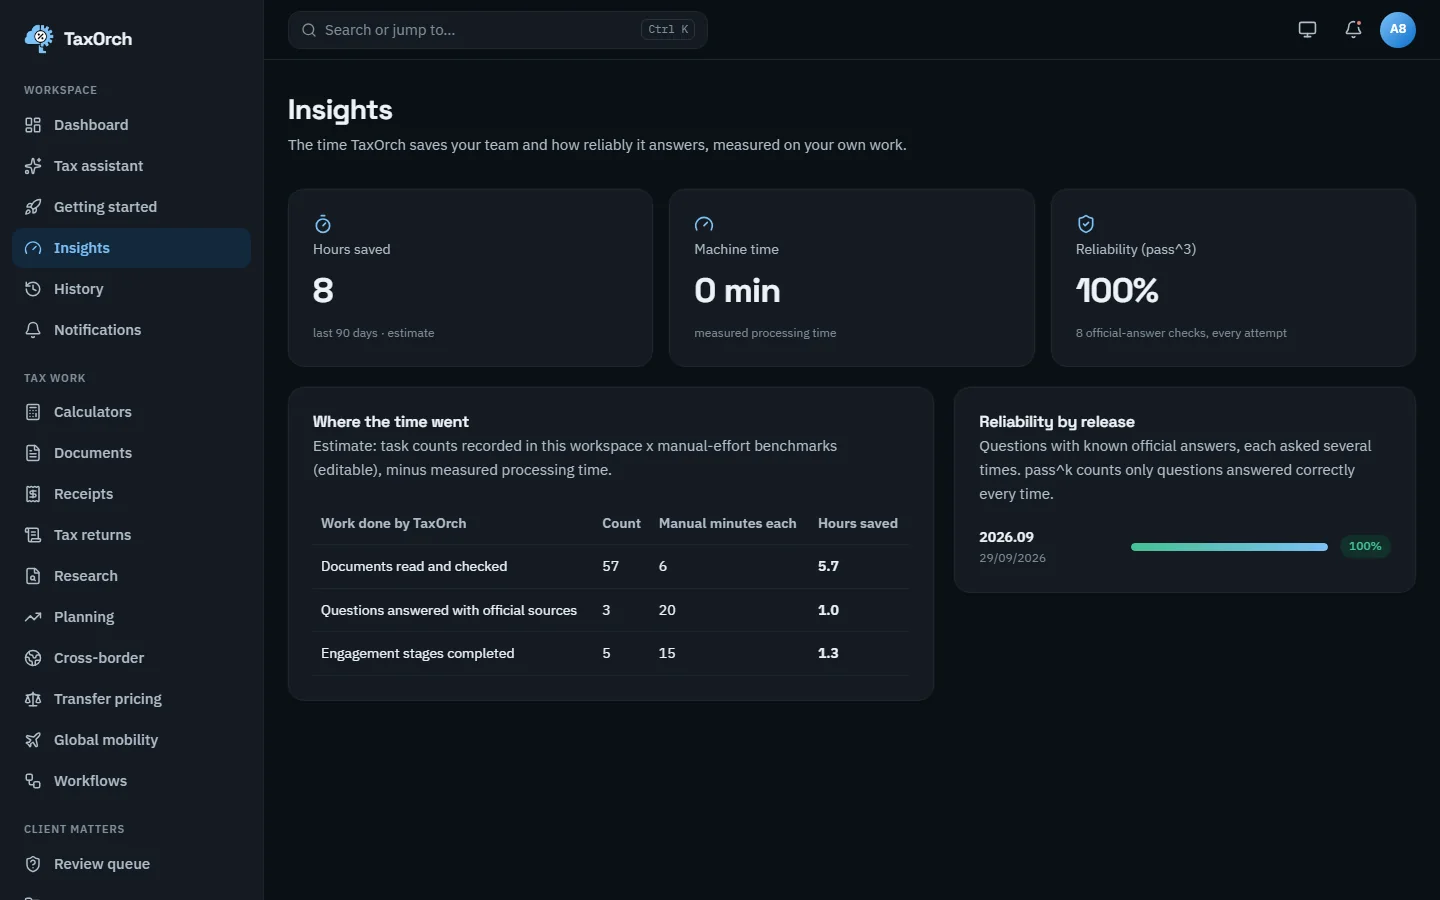
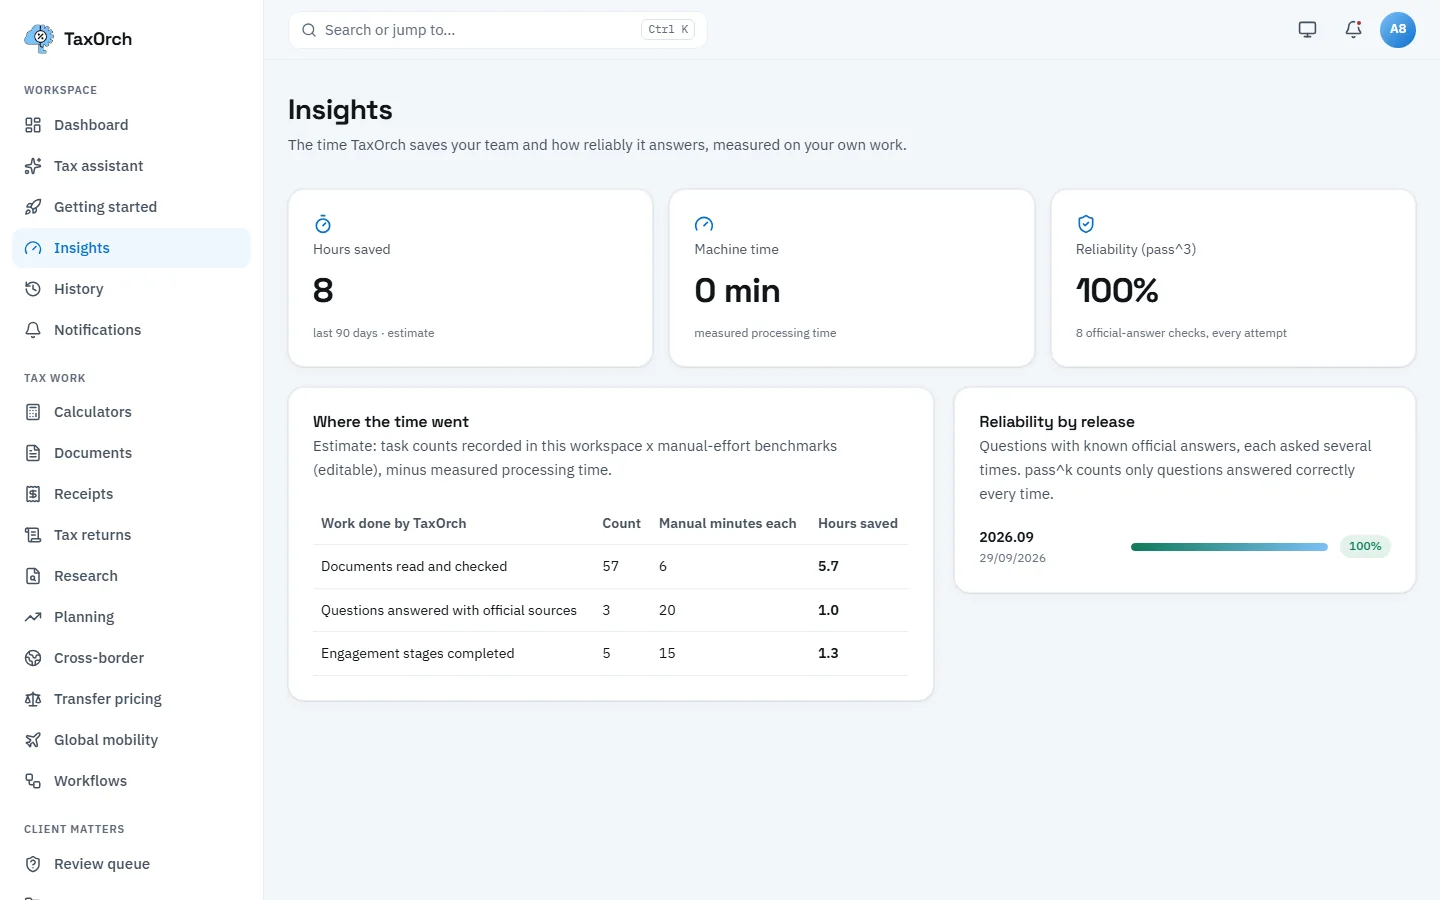
Insights: where the time went, with the benchmarks that produced the estimate shown next to each count.
Tips
- Press Ctrl K anywhere to search or jump to a page.
- The theme switch in the top bar changes between light and dark; every screen in this manual exists in both.
- A firm on Business can invite the whole team before any client work starts; roles are set per person (chapter 11).